About

Monday, September 23, 2013

Can you relate?

 Nooooooooo


Yep, my laptop died. 
 
 
In honor of that, I thought I'd share a little song with you called "The Gates"
by DaVinci's Notebook.
Have you heard it?  I couldn't find the tune to play for you, but here are the lyrics.
Crack.me.up.
 
 
Workin' on a laptop, close to the end
Of a job I've been doin' since half past ten
I don't believe that it's frozen again
The system has gone down-o, down-o, down-o
I don't believe that it's frozen again, the system has gone down-o

So I took it down to the help desk guy
I said, “Make it better, or I'm gonna cry”
He said, “I'm sorry, your computer has died
The data can no longer be found-o, found-o, found-o”
He said, “I'm sorry, your computer has died, the data can no longer be found-o”

To the roof with the laptop I did go
Over to the edge and I gave it a throw
And when it arrived seven stories below
It really made a mighty fine sound-o, sound-o, sound-o
When it arrived seven stories below, it really made a mighty fine sound-o

Well, that didn't do enough to ease my pain
So I went down to Dulles and I got on a plane
Sayin', “This is all Billy Gates's fault

I'm gonna be trackin' him down-o, down-o, down-o
This is all Billy Gates's fault, I'm gonna be trackin' him down-o”

Touched down in Seattle and got off the plane
Hit Starbucks to get out of the rain
Paid all o' my dough for a thimble o' joe
Full o' foam and the cinnamon brown-o, brown-o, brown-o
All o' my dough for a thimble o' joe full o' foam and the cinnamon brown-o

When the Gates found out about my plan
He packed up a bag, turned tail and ran
Megalo-man took it out on the lam
And hid way underground-o, ground-o, ground-o
Megalo-man took it out on the lam and hid way underground-o

Well, the Gates been a'runnin' ever since that day
Thinks he can hide but he can't get away
When I finally find his little skinny behind
Gonna kick it all over this town-o, town-o, town-o
Finally find his little skinny behind, gonna kick it all over this town


Hope all is going well with you in your neck of the woods.
Enjoy your day. :-)


Friday, September 20, 2013

Psychos

A few years ago I found a tie dye kit at a yard sale for $1, so I snatched it up, and tucked it away with other "it's super messy so we'll wait until summer to do it projects".

I like to incorporate fun and unexpected things into our homeschool.  I want my kids to LOVE learning, as well as appreciate the privilege and blessing that homeschooling is.

Several years ago I decided to start a new tradition.  The day that all the other schools went back into session, we would not begin that day, but rather have a "not back to school" day.   We often take a road trip to visit our best friends that live on the other side of the mountains,  a couple of times we have played board games all day.  However we spend the day there is lots of fun, lots of laughter.

Since I had reorganized all the closets due to the flooring project last spring, I also tackled some bins I had in the garage. Well, guess what I found tucked away all neat and orderly.  Yep, the tie dye kit. All we needed were some t-shirts.  It would be the perfect thing to do on our not back to school day.  We actually chose to make the shirts on Labor Day since it was a holiday and everyone was home.  It turned out to be sort of a "Good-bye to summer" thing, and it was fun...and messy.

The kit had everything except the directions, so I went on line to find them. There wasn't a downloadable PDF for my particular kit, but I did find a great You Tube video.

 
She suggested covering the work surface in foil.  This is a really great tip.  It cleans up super easy affording you a clean surface for the next shirt.


Caleb and Hannah taking mixing the dye very seriously.
 
 
The first step is to soak your t-shirt in the soda ash wash and wring it out.
{It's probably safest if you wear gloves.}

 
First, lay out your t-shirt flat on the table, then place a fork on the place where you want the center of your design.  Twist the fork like you would spaghetti, until it's all wound up.  Tuck in any loose ends, and secure with rubber bands.
 Fill in each section with dye.


Hannah wanted stripes instead of swirls so she folded the shirt accordion style then placed rubber bands evenly along.


Can you guess what color she is planning for the other stripe?
 
It's really important that you do not have any dye on your gloves as your work with your "clean canvas".


Matthew's stripes were blue, purple, and white.

The kit came with just the primary color dyes and one other empty bottle to mix combinations to arrive at the secondary colors.  Even though the kit said it would dye up to 15 shirts, I don't think they considered a large family who has similar tastes and design ideas.  We ran low on some colors.  As it turned out, our orange had more red in it than we thought.  Hannah's shirt isn't so much a tribute to Ireland, as it is to Christmas. {wink}  She's happy with it anyway.

 
Once you have all the items dyed, wrap each one in plastic wrap, and then place in a plastic bag, and put it in an undisturbed place, like a bath tub. After 24 hours, rinse each one in luke-warm water and then run them through the washer.
{Hint: Place a vinyl tablecloth on the bathroom floor so that you can lay out eat t-shirt after you've rinsed it.  For the first machine washing, I would wash each one separately as a bit of the dye seems to run a bit.
 
Then proudly wear your "last hurrah before school starts shirt"


Monday, September 16, 2013

The scenic route = different, but not slower

Even though Matthew completed his high school education last spring (2013) there weren't any other peers at church who were also graduating.  (That could be because he finished while still just 16.). There are, however, quite a few graduating this coming spring.  A combined celebration is planned, and he is very excited to be a part of that. 

A sweet friend, who has a terrific eye behind the camera recently took his "senior pictures".  It was fun to tag along.  I took a couple of shots with my phone. 


So what does one do with an early graduate? Matt will spend this school year CLEPping to earn college credit.  He recently took his first exam (Interpretation of literature) and passed, earning him 6 credits. WOOT WOOT!  (only 114 more credits to go for his bachelor's degree.)  Incidentally, we are also looking for a banjo teacher...and not just You Tube.

Wednesday, September 11, 2013

Saturday, September 7, 2013

Life Lately

...in between late summer rain drops {read down-pours with lightning}
 
Marsie

Goats grazing -  it's quite idyllic.
 
shootin' hoops

Dreamin' of pumpkin pie, pumpkin bars, pumpkin cookies, pumpkin granola, pumpkin pie,   oh, and did I say pumpkin pie?

Chillin' on the couch.
 
a discovery of wild blackberries on our farm.

Happy for some outside play time.
 
Did you know that pumpkins are great escape artists?  I didn't, but I do now.

More pumpkins playin' Peek-a-boo

One of Eric's favorite summer time treats...chocolate zucchini cake. {Good thing.}

Thursday, September 5, 2013

Canning peaches, a little tutorial

I didn't learn how to can until after the birth of my second child.  While it does involve some work, it is very gratifying to see the season's bounty put in jars to be enjoyed when there isn't a ripe berry, peach or green bean to be seen. 

I used to admire ladies' pantries that were filled with home canned goods.  It always reminded me of a vintage store mercantile - Sarah, Plain and Tall style.  I'm sure I sighed out loud at the shear beauty of it all and desire to learn that domestic art.

Many years ago a dear friend of mine offered to show me how to can peaches.   I was so appreciative of her willingness to teach me by walking me through each step.
I thought I'd do the same for you.  

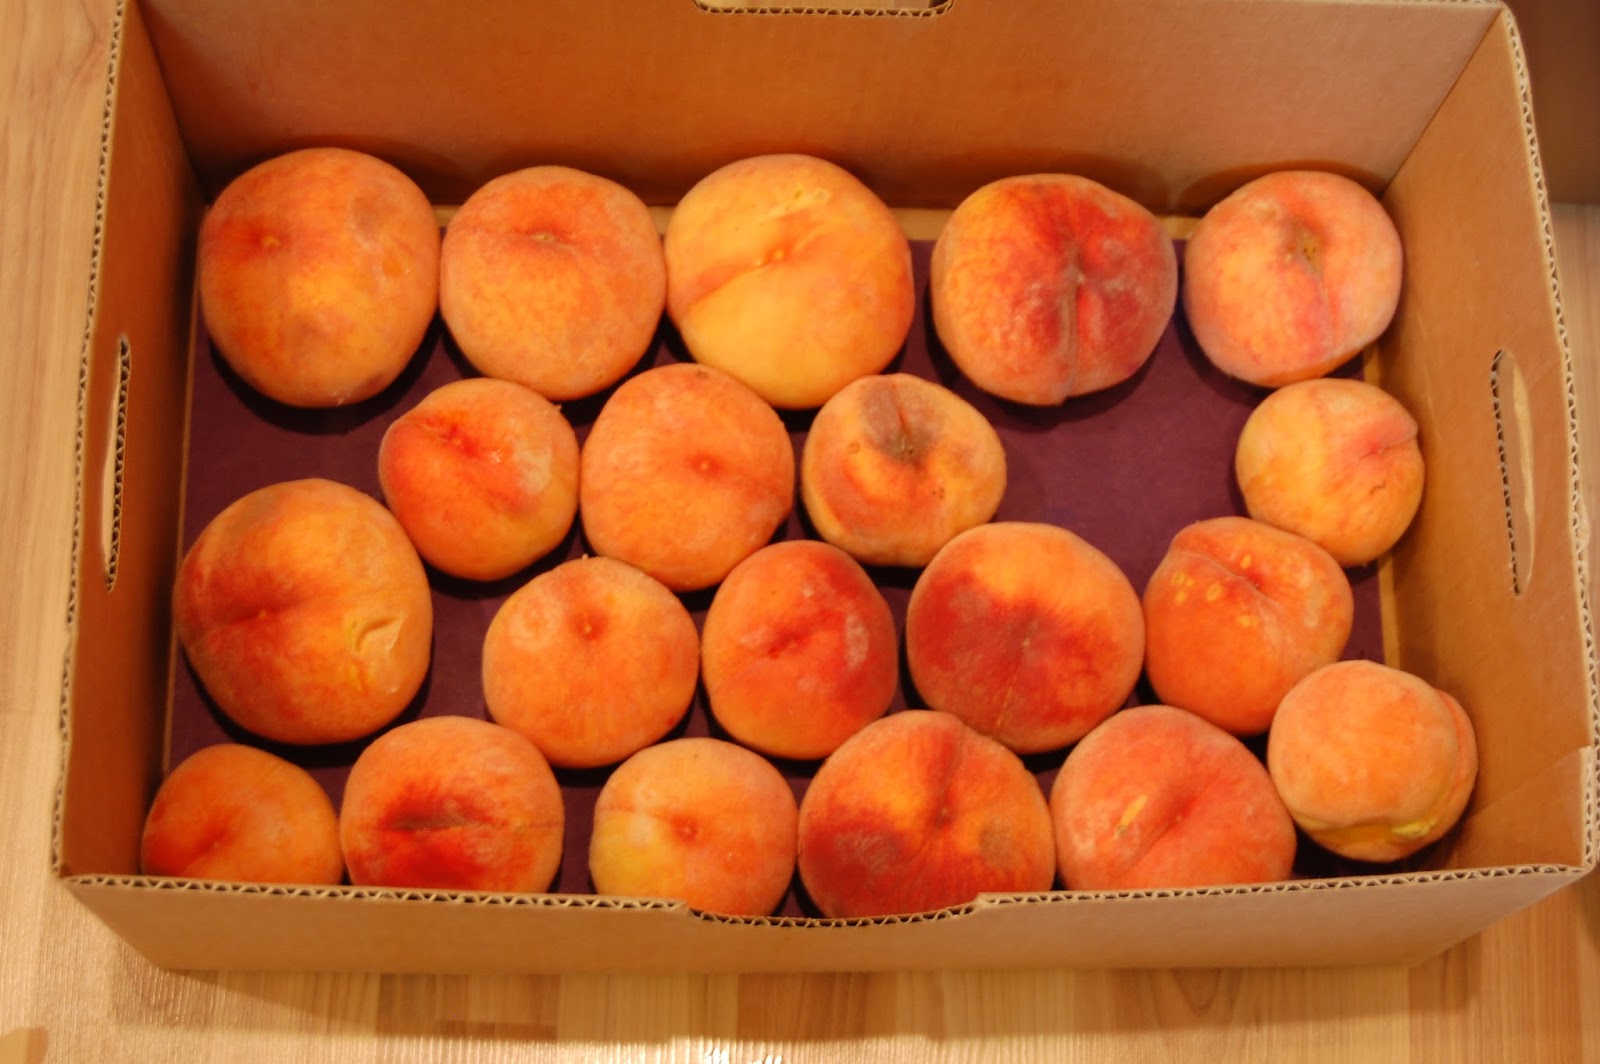
First, gather your peaches.  Of course, if you can glean "clean" peaches that's best... free and free of sprays.  Once you have your peaches, place them in a single layer in your boxes.  Ripe peaches are tender and will bruise if you have them piled on top of each other.  If your peaches are more firm and need a day or two to ripen, then this will also help.


Next collect your canning jars.  1 {24 lb.} box of peaches yields up to 14 quarts depending on the size of the peaches.   *That's what this lesson will be based on.

I like to can peach halves and since they are big, I prefer wide mouth quart jars.  Be sure to inspect the rims for any chips.  Discard these jars {or use for another purpose, like storing bulk spices.} A chipped rim will not allow for a good seal and that could cause spoilage and bad, ugly things can happen with that.


Wash them in hot, soapy water, rinsing well.  Let them air dry upside down while you prepare the other parts.

Next you will need your "syrup".   It is a simple sugar/water mixture.  A "heavy syrup is very sugary - a 1:1 ratio of sugar to water.   We prefer an extra light syrup.  and 1:4 ratio. 
{1 cup sugar: 4 cups water.}  

In a medium sized stock pot, pour in 16 cups of water and 4 cups of sugar. {I use organic} and place over low heat.  This quantity is 4 times the extra light syrup ratio and allows you to have enough for 14 jars. 
Stir occasionally so that the mixture doesn't scald.  Place on a back burner.


On the other back burner, place a small saucepan filled with water.  Bring it to a boil.  Place your lids and rings into the boiling water to sterilize them.  They need to boil for 3-5 minutes, then turn off the heat.

Next you will fill your large black enameled canner half way with water, cover and turn on to medium heat.  You want your water to heat up, but not boil.  {If you place your filled jars into boiling water, you will risk cracking the jar...don't ask me how I know this!}

On the last burner, you will have a large sauce pan filled with water.  Bring that to a boil.

 
In the front pot that has boiling water,  place 3 peaches and set a timer for 1 minute.
 
 
When the time has ended, remove the peaches with a slotted spoon,  place in a bowl, and run under cold water.  This should allow the skins to slip right off. 


Next, slice the peach in half and remove the pit. 
 
 
Cut away any bad spots.  Place the peach half cut side down in the jar.  Repeat until all 7 jars are filled.
 
Remove the pot that you boiled the peaches in from your stove top, and pull your syrup pot forward to the front. 
Now, using a canning funnel, fill your jars with your hot syrup leaving 1/2" headspace.
{Head space is the space between the top of the contents and the top of the jar.}
Use a plastic headspace tool, remove any bubbles by sliding the tool down the sides of the jar {between the peaches and the jar} and then add syrup to 1/2" headspace again.
{Do not use a metal knife, metal reacts with the acidity of what you are canning.}


With a CLEAN {not used for anything else, but this canning session} washcloth, wipe the top edge of the jar to remove any syrup or peach bits.  
 
With a magnetic jar lifter, remove a lid and ring from the hot water {pot on the back burner} and place on top.  Screw on the ring and place inside your black enameled canner.  Repeat with the other 6 jars.
 
Be sure that the water level is at least 1/2" above the tops of the jars.  Yes, the canner will be almost overflowing.  You can see that more water is needed is needed for this batch.
 
 
Cover and turn on High heat.  Bring to a boil.  Once boiling, set the timer for 30 minutes.
When the processing time has finished remove the jars using a jar lifter.  Place on a clean kitchen towel in a draft free place.  I then cover my jars with another towel to prevent a draft that might crack the jars.  Let them sit there for 24 hours.  Check the tops by pressing in the center.  They should all be firm.  If any pop back, then that jar did not seal.  You can either re-process or just place in the frig to eat within a day or two.
Once I know my jars are sealed, I remove the rings and carefully wash the jars to remove any stickiness.
 
And that's all there is to it.  :-) 
 
I found this peach recipe and thought it sounded so yummy! 

Sunday, September 1, 2013

It doesn't hurt to ask

Have you ever purchased something that broke not long after you bought it?  Disappointed at your loss, you respectfully ask for a replacement, hoping they'll honor your request. 
Well, let me tell you a very, very cool story.

On our recent trip to Disneyland, Daniel bought a talking Buzz Light Year.  He had talked about this particular toy constantly before our trip; how much he liked it, and how that would be THE souvenir he would buy.  He saved all his money in order to do so.  
He was overjoyed with his purchase.  Since that day Buzz has been with Dan just about everywhere.  In his free time, that was the toy that he played with.

Recently, while Dan was playing with him Buzz met with an unfortunate event.  His arm broke off.  
Daniel was crushed.  Being his favorite toy, he took very good care of him.  It also took him quite a while to save up the money to buy him, and it was THE souvenir from his first trip to Disneyland.
C.R.U.S.H.E.D.  

Since Eric can fix just about anything, I tried to calm and comfort Dan by saying, "Let's wait until Dad comes home from work and see if he can fix him."   That night Eric was greeted at the door by a young boy with a tear stained face, but hope in his heart. 

Taking a good look at the broken piece, Eric determined that he could not fix it, but he suggested to Dan to write a letter to Disneyland and respectfully ask them if they would replace it.   

The next day, Dan got out notebook paper and pencil and wrote a letter in his best penmanship.

He included the receipt and a picture of the broken parts.  {Eric actually scanned it all and sent it in an e-mail to Customer Service.}

Within 48 hours, Eric received an e-mail addressed to Daniel.  They were apologetic and sympathetic and delighted to replace his prized toy.

Within 1 week, Daniel received his replacement talking Buzz Light Year! 


Daniel learned some important things. 
  1. It never hurts to respectfully ask! 
  2. Dads are super smart. {He already knew that, but was reminded by this event.}
  3. Disneyland truly wants every experience with them to be a dream come true.